Direct Deposit Upload Check
MY HR > Direct Deposits
A document upload feature has been added to eDirect Deposits to let employees attach direct deposit slips or voided checks to direct deposit change requests. The steps below show you how to use this feature to upload a voided check:
Upload check from eEmployee
- Log in to the HR Portal.
-
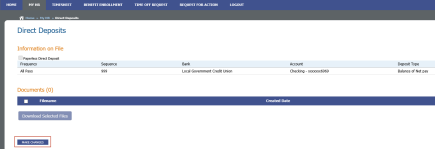
Navigate to MY HR >
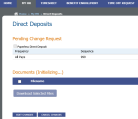
 Direct Deposits. The Direct Deposits page will open. Voided checks that may have been uploaded with previous direct deposit change requests will show in the Documents grid at the bottom of the page.
 -
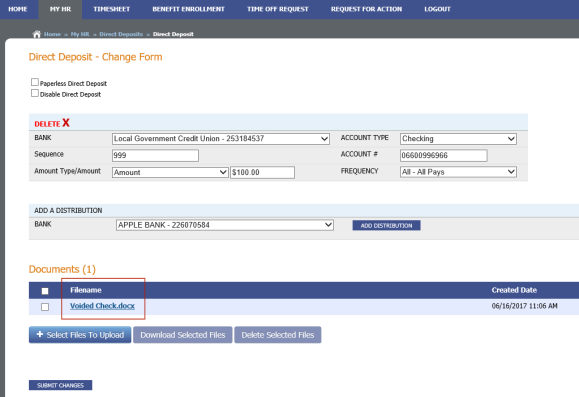
Click the MAKE CHANGES button. The
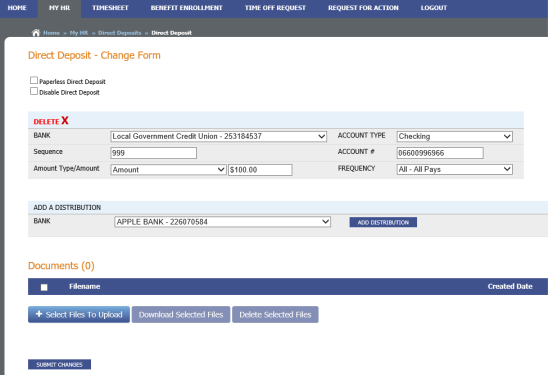
Direct Deposit Change Form will open. - Make the necessary changes on the form.
-
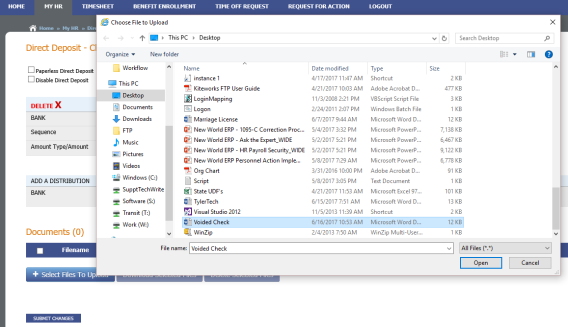
Click the Select Files to Upload button. The
Choose File to Upload dialog will open. - Select the voided check file.
-
Click the Open button. The file will be added to the
Documents grid on the Direct Deposit Change Form. -
Click the SUBMIT CHANGES button. The document will be
initialized and added to the Documents grid at the bottom of the Direct Deposits page. The submitted changes will show in the Pending Change Request grid at the top of the page.
Approve and post change request in new world ERP
- Log in to new world ERP.
-
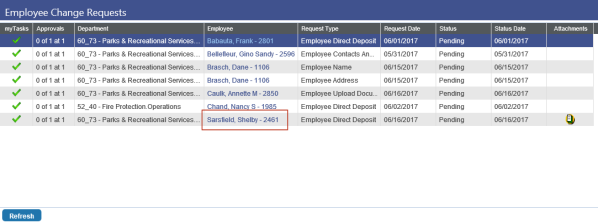
Navigate to Human Resources > eSuite > Employee Change Request. The Employee Change Requests page will open.
Note: To let you refresh the grid of change requests so that it contains those for documents only,
Employee Upload Documents has been added as a Request Type in the search panel (click Show Search link) at the top of the page. -
Click the
Employee name in the row representing the change request.The
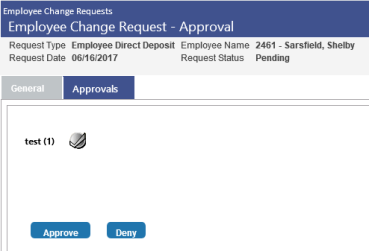
Employee Change Request-Approval page will open, containing two tabs, General and Approvals. The grid on the General tab will show the requested changes in red, and the background of the Documents icon in the Attachments column will be yellow to indicate an attachment exists. (If an attachment does not exist, the background will be blue.) -
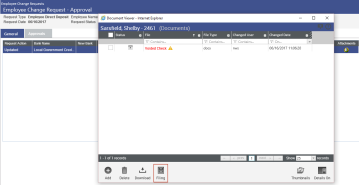
To view the attached file, click the icon. (You also may view the file by clicking the same icon from the Employee Change Requests page.)
The
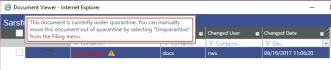
Document Viewer will open. The file link will appear in red with a yellow icon to the right of it, indicating the file is under quarantine and not yet viewable. (Hovering over the icon will display a tooltip that explains how to "unquarantine" the file.) -
Click the Filing icon at the bottom of the viewer.
-
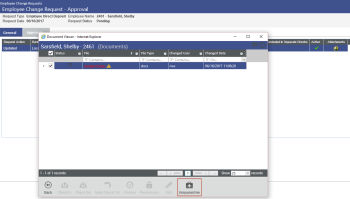
Click the
Unquarantine icon. After you have taken the file out of quarantine, the file link will display in blue, indicating the file is viewable. -
Click the file link to view the document.
Note: Within the Document Viewer, based on security rights, you are able to view, add and delete documents.
- Close the Document Viewer.
-
Click the
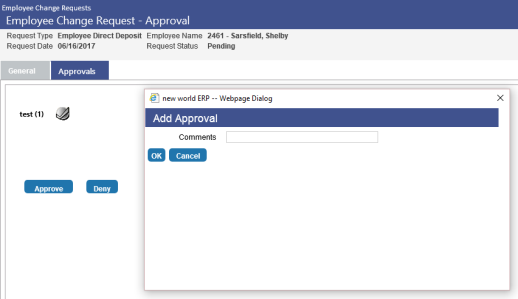
Approvals tab. This tab will contain two buttons, Approve and Deny. -
To approve the document, click the Approve button. The
Add Approval dialog will open. - Add comments, if needed.
-
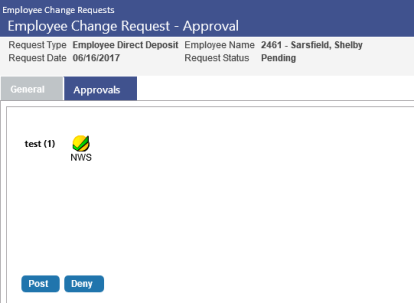
Click OK. The
approver icon will turn yellow, and the Approve button will be replaced by a Post button. - To post the change request and add the document to the employee's Workforce and eEmployee Direct Deposit pages, click the Post button. The buttons will be removed from the tab, and if email notifications have been configured, an email will be sent to the employee. The change request also will be updated to a posted status.

View employee's voided check in Workforce
- Log in to new world ERP.
- Navigate to Human Resources > Workforce Administration > Search.
- Search for the employee.
- Click the Employee Number. The Employee's Workforce page will open.
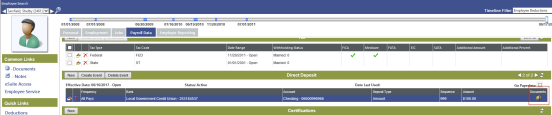
- Click the Payroll Data tab.
- In the Quick Links section on the left side of the page, click Direct Deposit.
- In the Direct Deposits grid, find the row corresponding with the direct deposit change that included the uploaded check.
-
A new
Documents column will show a Documents icon with a yellow background. Click the icon to view the document.
View employee's voided check in eEmployee
- Log in to the HR Portal.
- Navigate to MY HR > Direct Deposits.
-
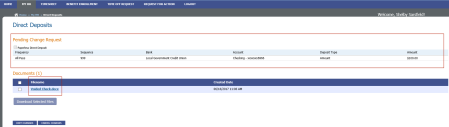
The voided check will appear as a link in the Filename column of the
Documents grid. - To view the check, click the link. (If you are viewing multiple documents, select the corresponding check boxes and click the Download Selected Files button.)
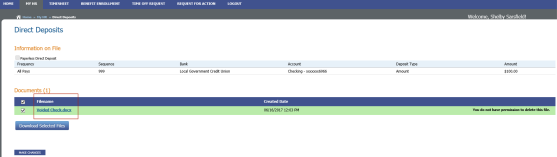
Note: Posted documents cannot be deleted from eEmployee or Workforce Administration.